Organization Management
This document will walk you through How to create an Organization. How to edit one, Adding a Portal to an Organization, and many other steps.
A Brief Overview:
what is an organization? What’s the purpose of defining an organization? Why might you need multiple? Overall access management features that an organization provides?
Adding, Removing, and Editing an Organization
Adding an Organization
To begin, navigate to the OmniDefend dashboard. On the left-hand pane, select
OrganizationsandAdd Organization(s)as you see in the image below: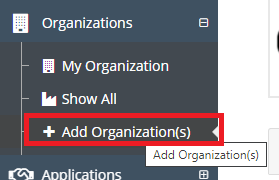
The user will see a page populate that resembles the screen below
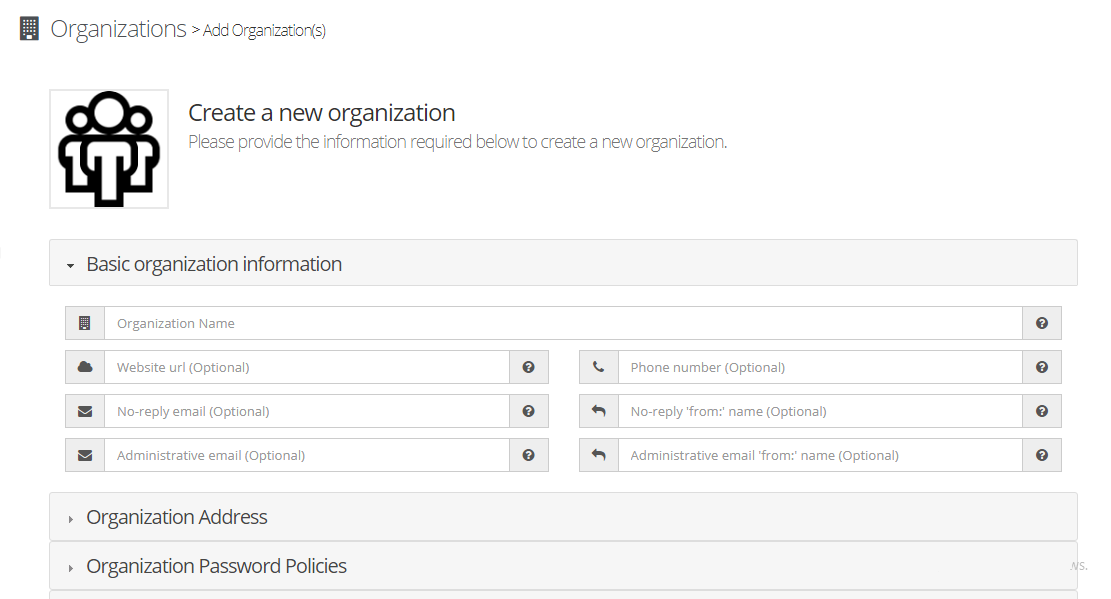
Tip
When you moseover the
?you will see a brief description of what to type in each fieldAfter filling out all of the information, click the
Test SMTP Settingsbutton to do just that. If done correctly, a success message will popup, otherwise there will be an error message in red.Note
The SMS settings for text message sending are optional.
After filling out all the information, the user must select from 3 options to finalize the creation of their organization, as you can see below:

Option 1 - Create
This option simply creates the organization
Option 2 - Create + new
This option creates the organization and drops the user on the next form to create an additional organization.
Option 3 - Create + Edit User
This option creates the organization and goes into User edit afterwards.
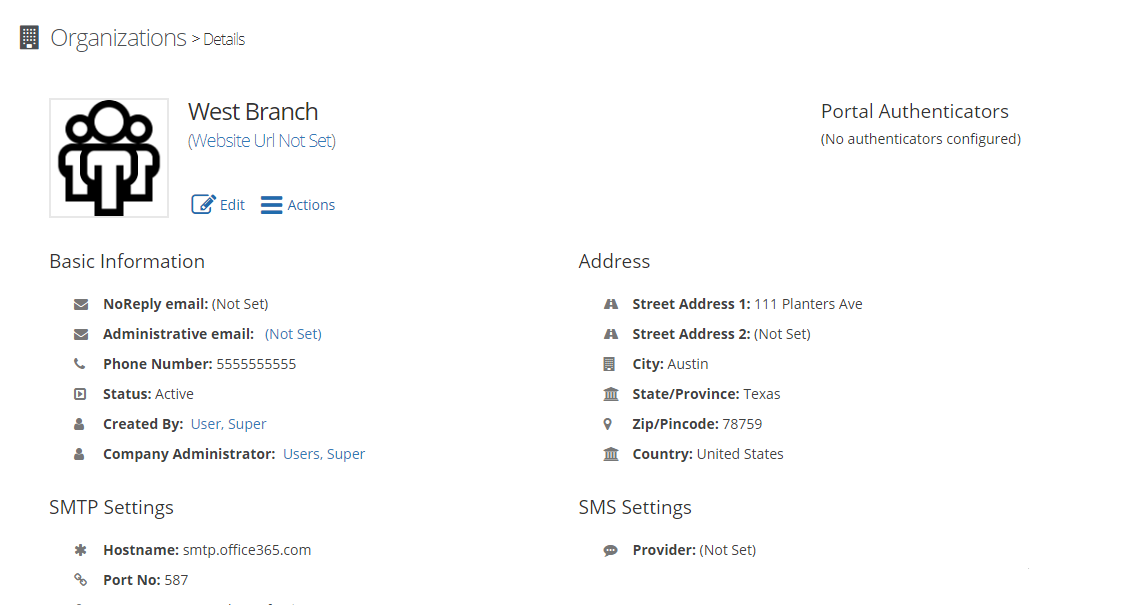
After the organization is created, the next page will show the landing page created for that organization, as you can see below:
Removing an Organization
To begin the organization removal process, navigate to the organization’s landing page by finding it under the organization’s tab in the left-hand pane. The page should look similar to the one below:
Click
ActionsandRemove Organization. Make sure to confirm your selection when the confirmation box pops up.Ediitng an Organization
To begin editing the organization info, navigate to the organization’s landing page by finding it under the organization’s tab in the left-hand pane. The page should look similar to the one below:
Click
Edit, and after making the desired changes, make sure to clickSave
Adding and Removing a Directory to/from an Organization
To begin adding a directory to the organization, navigate to the organization’s landing page by finding it under the organization’s tab in the left-hand pane. Next, click the blue box labelled Add Directory in the bottom right corner of the organization landing page. Fill in all the information, and make sure to click Save.
Setting Up A Portal for the Organization
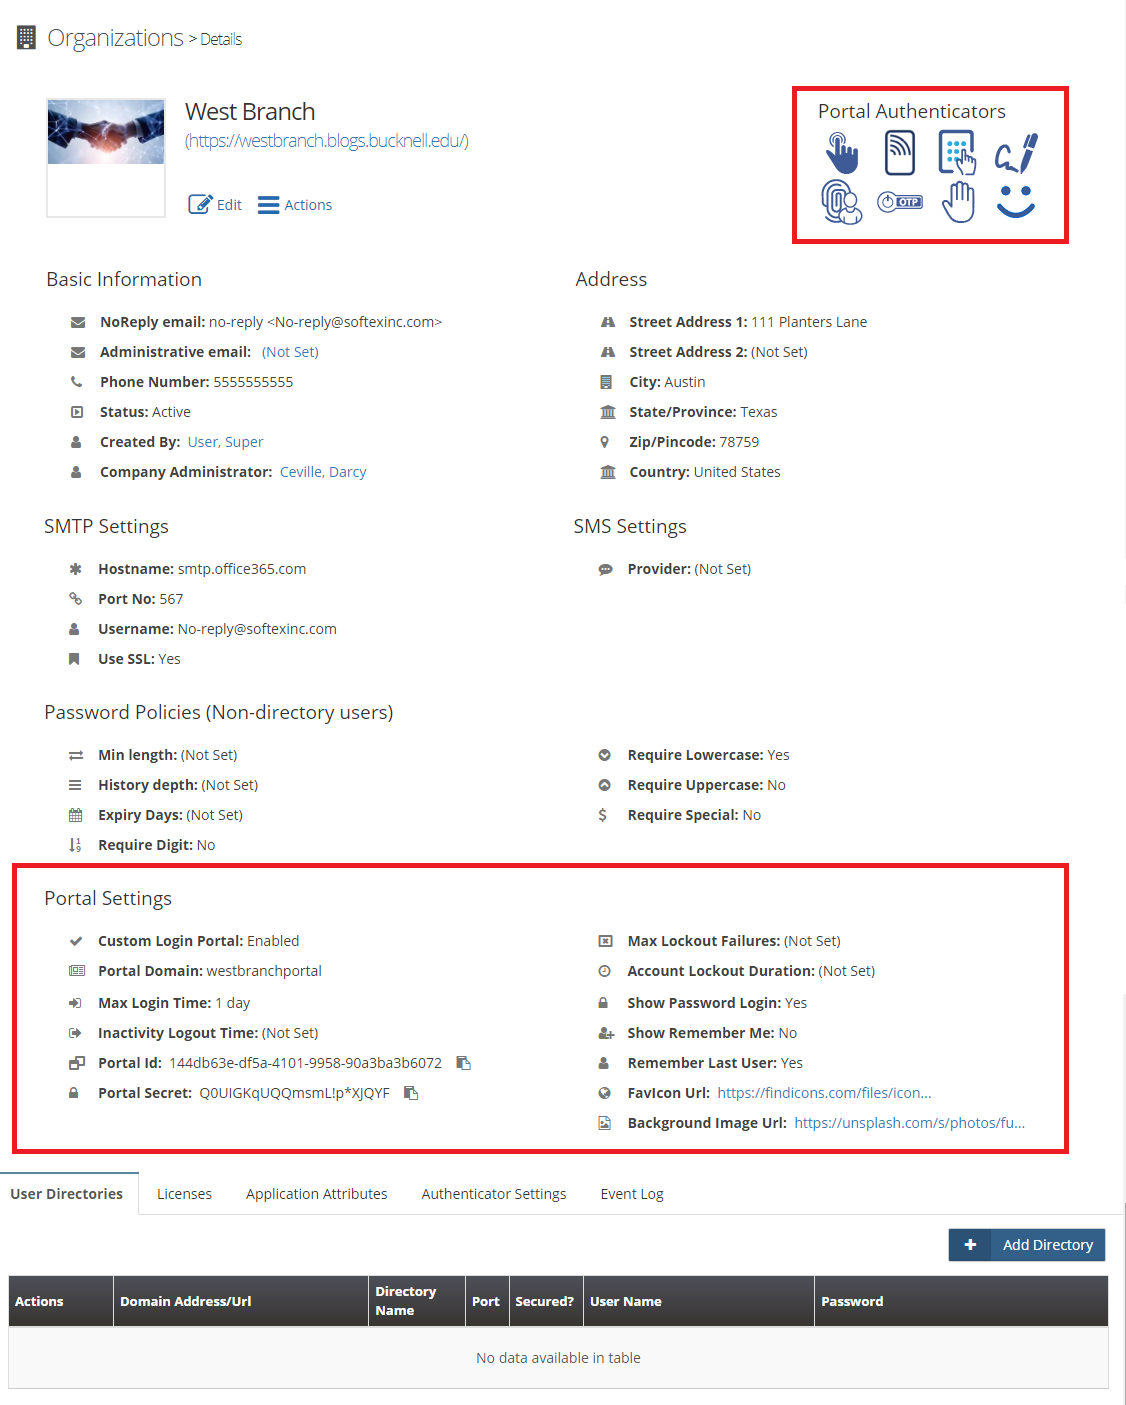
To add a custom portal for your organization, first navigate to the organization’s landing page by finding it under the organization’s tab in the left-hand pane. Click Edit and click the dropdown labelled Portal Settings. There you can check Enable custom organization portal. Fill in the pertinent information, such as address, lockout, and authenticators, and remember to click Save. Portal settings will then be visible on the organization landing page, as seen in the image below:
Saving A Custom Report for Organizations in OmniDefend
To run a report for your Organization, first go to the Organization label in the left-hand pane and select Show All, as you can see in the image below.

Next, click the blue Save button in the top right which will be located alongside Print, PDF, and Excel
Fill out the appropriate fields, including the organization for which the report is being created, and press the Submit button at the bottom of the screen upon completion.